How to Prepare Your Kitchen for a Seamless Oven Installation
A well-designed kitchen can make your cooking experience much more pleasant. Appliances with innovative features can help you start your oven remotely and keep cooked food warm until you’re ready to eat.
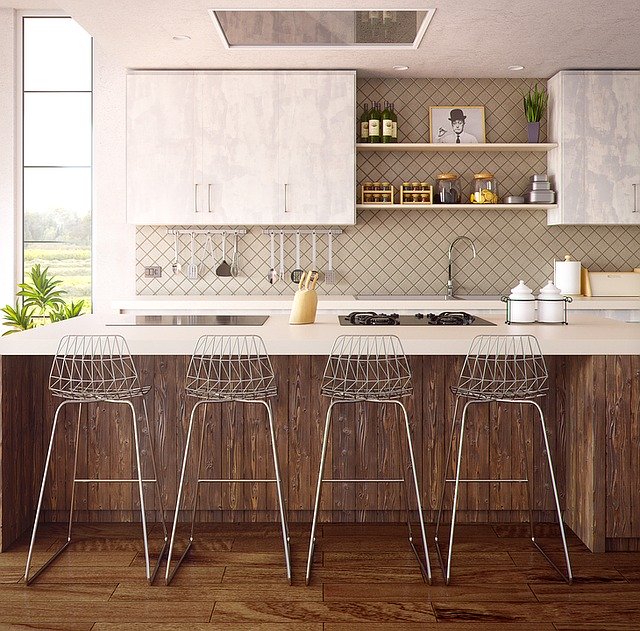
Unlike an oven in a range, a wall oven is at eye level, so you can easily monitor and remove dishes without bending over. Proper rack placement will ensure that your dishes cook and bake evenly.
Preparing the Oven
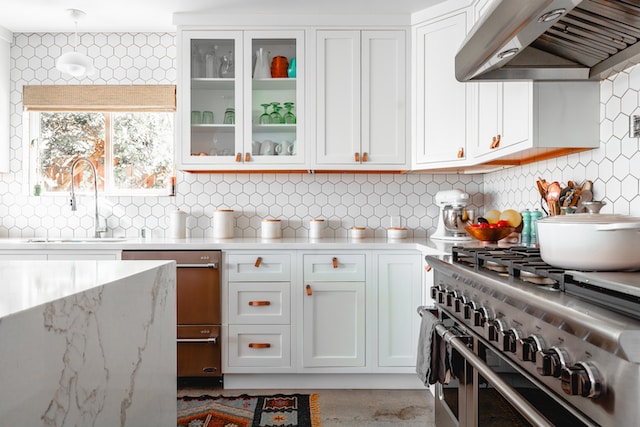
Ovens are a must-have kitchen appliance, whether heating up a quick dinner or baking the fanciest desserts for your guests. Finding the right stylish and functional oven can be challenging, but it’s easier if you have a few things to consider before making your purchase.
Ensure that your oven matches your cabinet and decor with a sleek design that’s smooth and flush with the wall. You can also make the most of your space by using a dual-wall oven perfect for busy families with a large capacity to accommodate multiple dishes simultaneously.
It’s important to shut off the circuit breaker before you start removing your old oven and installing your new one. Once this is done, you can prepare the cabinet for your new oven. This includes shutting off any electrical wires and locating the junction box where you’ll connect your new oven. It’s also a good idea to remove any cabinet trims in the way of your new oven installation.
Removing the Existing Racks
Oven racks are notoriously difficult to keep clean. Spills, splatters, and gunk will build up on them over time and require regular cleaning to prevent the accumulation of heavy deposits.
When you’re preparing for the oven installation Washington DC, it’s important to test your existing racks to ensure that they are stable and free from damage. Begin by giving each one a gentle side-to-side wiggle to check for movement. If the rack feels loose, you should remove and replace it to ensure that your new oven can safely support the weight of your cookware and dishes.
If possible, take the racks outside and place them in a large plastic garbage bag. Fill the bag with 2 cups of household ammonia and seal it shut. Let the racks soak overnight. For safety, wear rubber gloves and protective eyewear while handling the racks as ammonia fumes can be overpowering. After the racks are dry, you can put them back in place.
Preparing the New Racks
Ensure that the new racks are clean before inserting them into the oven. If necessary, take the time to scrub them thoroughly to remove any lingering grease or food residue. Also, double-check that the new racks are compatible with your oven and can support its weight.
Using a non-scratch scourer, scrub the entire surface of each rack with hot, soapy water. If you’re dealing with stubborn grime, adding a small amount of baking soda to the mixture can help to break it down.
To speed up the cleaning process, you can soak the new racks in your bathtub before scrubbing them. To do this, place the racks in the tub and cover them with hot water and a few generous squirts of dishwasher detergent. Leave them in the tub for several hours to help loosen the gunk. Once the racks are dry, wash any excess water and wipe them down with a towel before placing them back in the oven.
Inserting the New Racks
Oven racks may seem like simple tools, but they can significantly impact your cooking results. By carefully washing them and properly inserting them into your oven, you can ensure a seamless installation and achieve better cooking results.
To wash oven racks, first, remove them from the oven and give them a good cleaning. Mix baking soda and hot water to scrub any hardened grime and grease. Rinse them thoroughly and let them dry before handling them.
Before you put your new racks into place, ensure they are compatible with your oven model. You also want to ensure the racks are properly positioned in the oven, as different rack positions will affect cooking times and temperatures. Finally, test the stability of the new racks by applying light pressure. They should not move or wobble excessively. If they do, then you will need to reposition them.